
Finishing Baby Bonnets
What We Learned
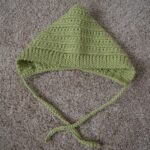 The bonnet and brim of the baby bonnet we worked on in last class. This class focused on finishing the bonnets.
This included:
— seaming the rectangle together to make the bonnet shape
— making the ties and completing the bottom that goes around the neck
Seam the Rectangle
This project is based on Daisy Farm Crafts, but I modified how the seam was created to make it more “invisible”.
-
Fold it so the “wrong side” is facing out.
-
Slip stitch in each stitch to end (using outside loops only)
-
Turn right side out
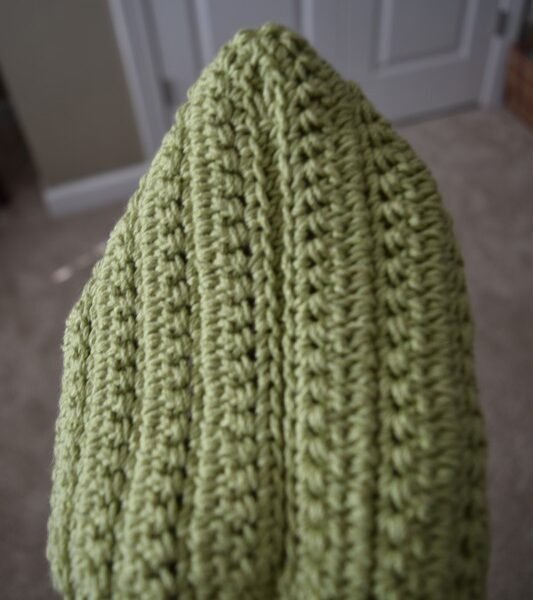
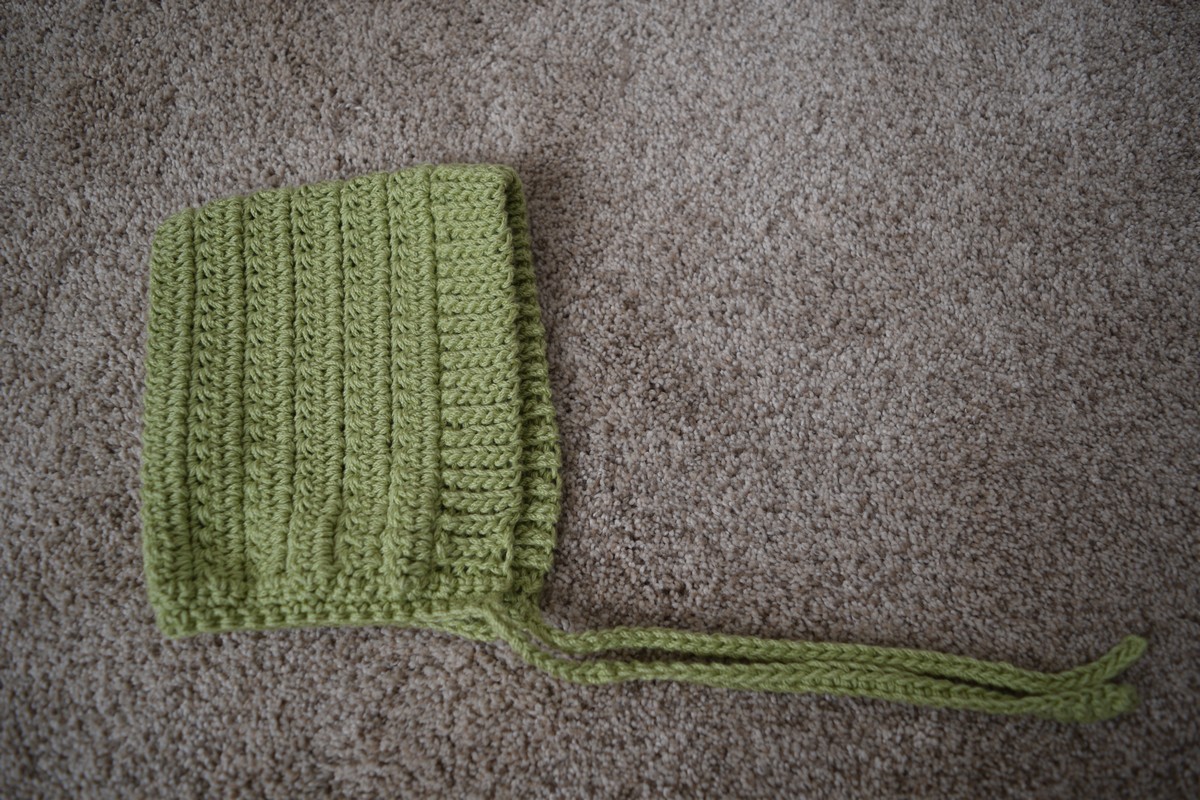
Straps and Bottom Finishing
-
Start at rib stitch, slip stitch, and make sc along the ribbing.
-
For each sc row and cluster: 1 sc in the sc row and 2 sc in the cluster row
-
5sc in rib stitch at the other end.
-
chain about 60 ( ~ 12”) (The length needed is based on the size of your bonnet, weight of your yarn, size of your hook and tension you crochet). You may need more or less. Write this number down, you will need it on the other side.
-
sl st in each chain back to the bonnet
-
5 sc in rib stitch
-
(Decreases) skip 1 st, 2sc, [skip 1 st, 2 sc] repeat to rib stitches
-
5 sc in rib stitch
-
chain same number of chains as other side
-
sl st in each chain back to the bonnet and sc in every bonnet stitch to end of bonnet.(No decreases)
-
sl stitch, cut yarn weave in end.
Next Meetings
Sea Shawlers Meeting
Sandbridge Chapel
Thursday October 1, 2026
1pm – 3pm
Crochet Lesson
Sandbridge Community Center
Tuesday October 20, 2026
10-11 am
Hope to see you again!